


















 ● 20 min read
Showdown: RS550 12V DC 8000 vs RS-555 12V DC 6000 RPM DC Motor
Vol. 56 | The Heavyweight DC Drivetrain Duel Reliability isn’t optional when you’re designing actuators that need to move actual steel or
Read Article →
| Bulk Pricing | ||
|---|---|---|
| QTY | Unit Price(Inlc. GST) | |
| 25+ | ₹1,331.82 ₹ 1128.66 + 203.16 GST | |
| 50+ | ₹1,318.23 ₹ 1117.14 + 201.09 GST | |
| 75+ | ₹1,304.64 ₹ 1105.63 + 199.01 GST | |
| 100+ | ₹1,277.46 ₹ 1082.59 + 194.87 GST | |
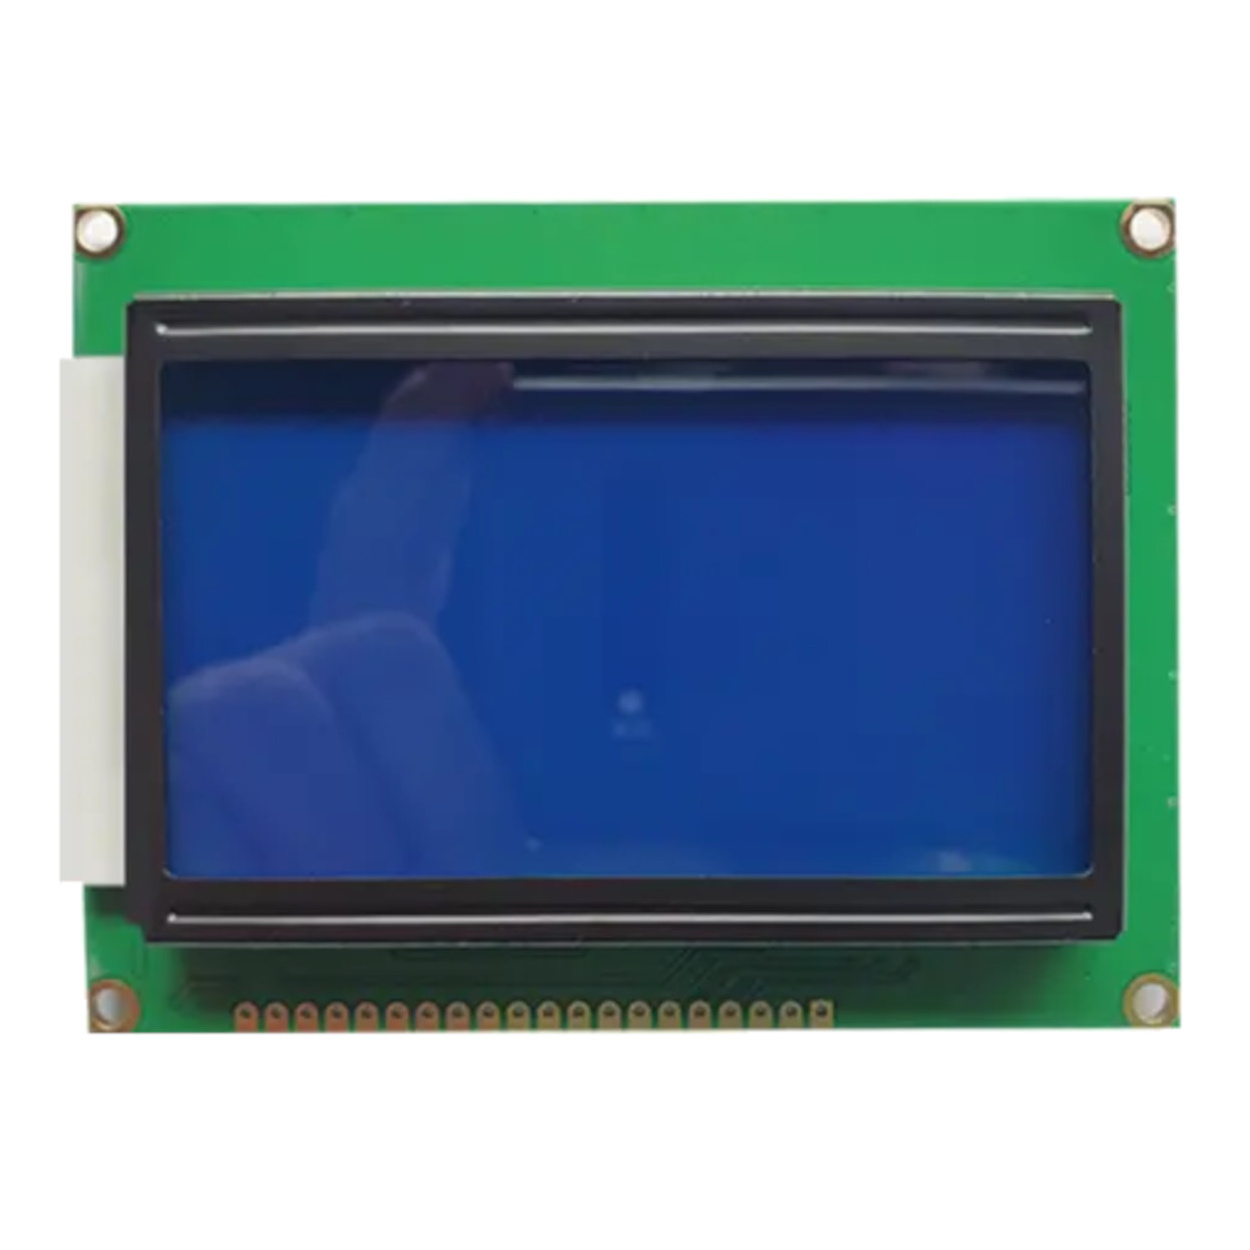
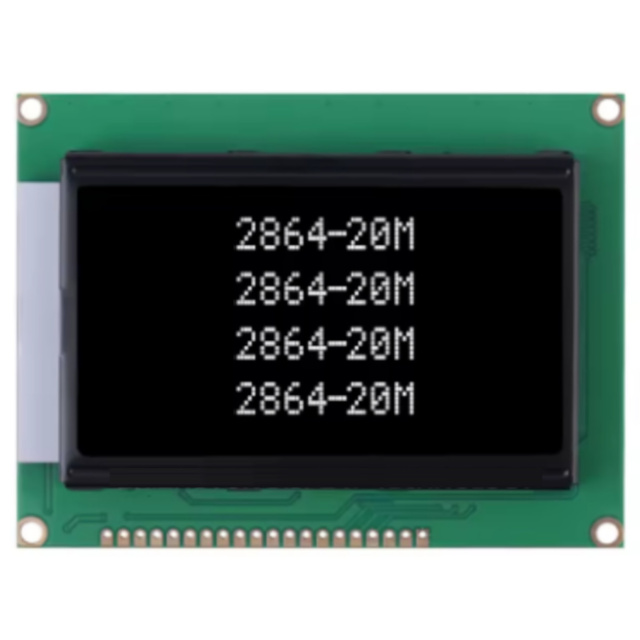
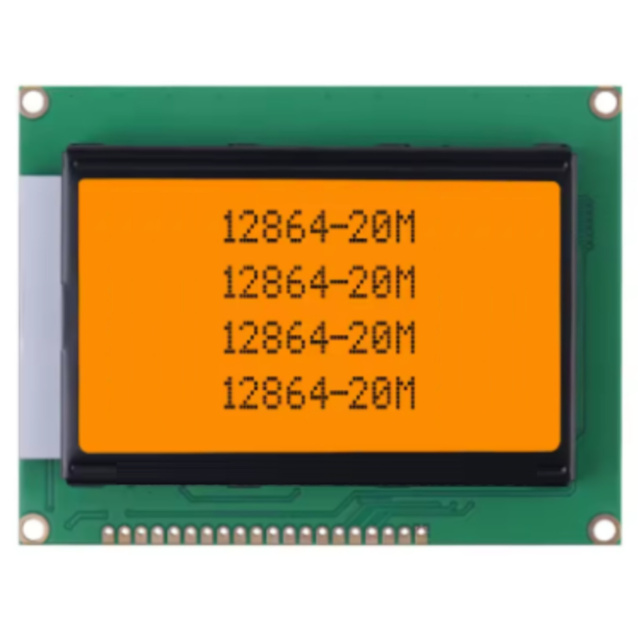
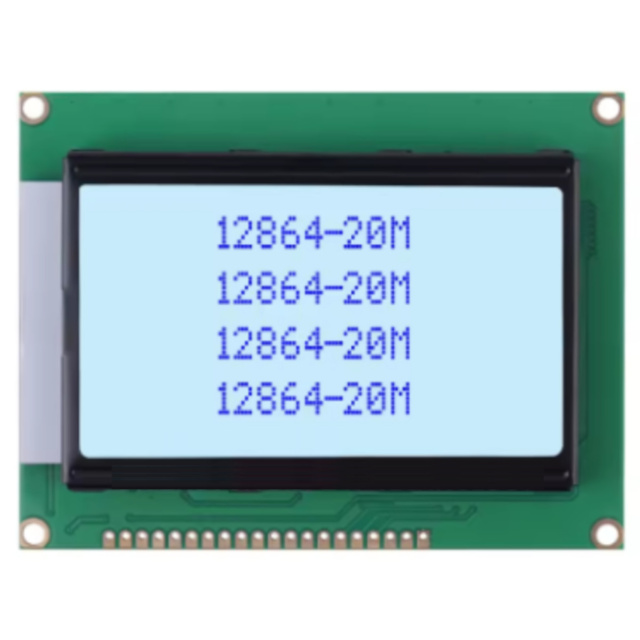
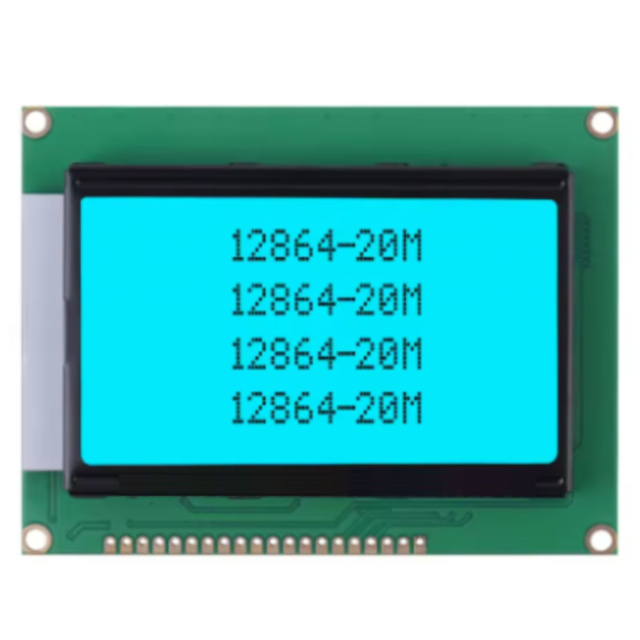
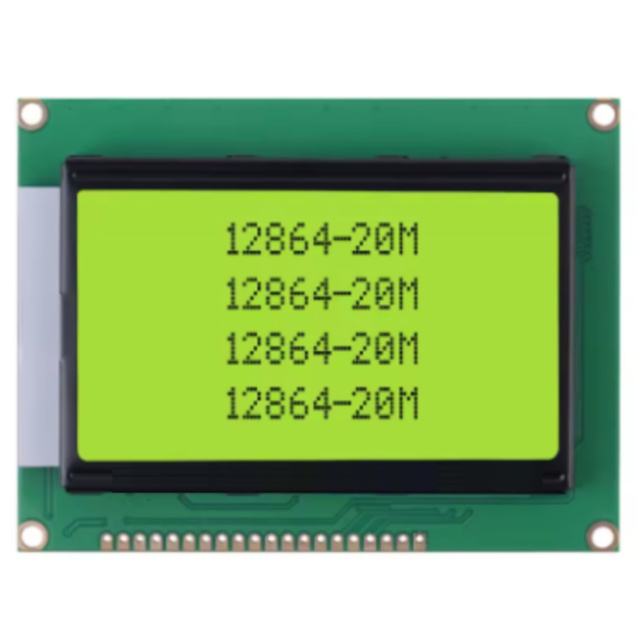
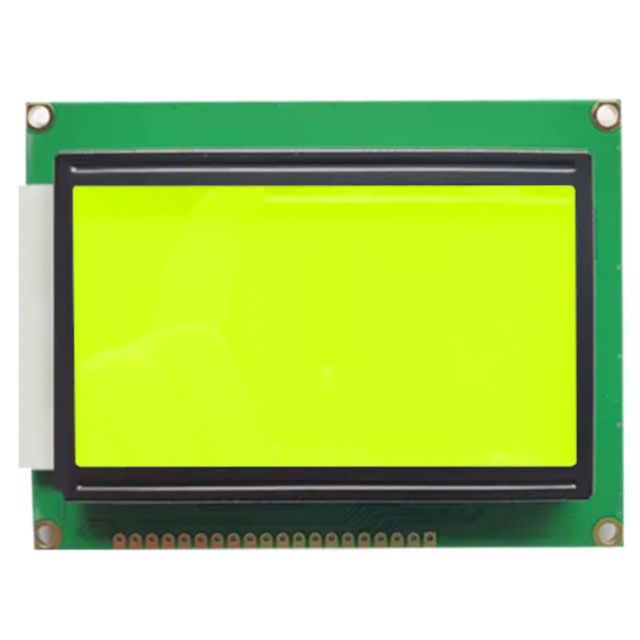
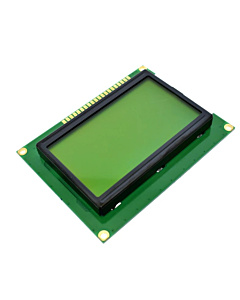
Upgrade to full graphics! The 12864 is a 128x64 pixel monochrome LCD featuring the ST7920 controller. Draw shapes, graphs, and custom fonts against a high-contrast blue backlight. Supports both Parallel and SPI communication.
 UNO R3 Compatible Development Board - ATmega328P DIP Version with 16U2 USB ₹499.00
  ESP32-WROOM-32 NodeMCU 38-Pin Development Board ₹499.00
  Raspberry PI 4 B 2GB BCM2711 Arm Cortex-A72 RAM Single Board Computer ₹7,999.00
  Raspberry Pi 4 Model B 4GB RAM ₹12,499.00
  Raspberry Pi 4 Model B with 8 GB RAM ₹19,499.00
 Full Graphic Canvas Standard 1602 or 2004 LCDs contain a hardcoded "character map" chip; you tell it to print "A", and it uses its internal memory to draw an "A". The 12864 breaks free from those limitations. It provides a raw canvas of 128 horizontal pixels by 64 vertical pixels (8,192 total dots). Using software libraries, you define exactly which pixels turn opaque (appearing white against the blue background). This allows you to draw circles, diagonal lines, bar charts, custom UI elements, and fonts of any size, offering a massively upgraded user experience for your DIY devices.
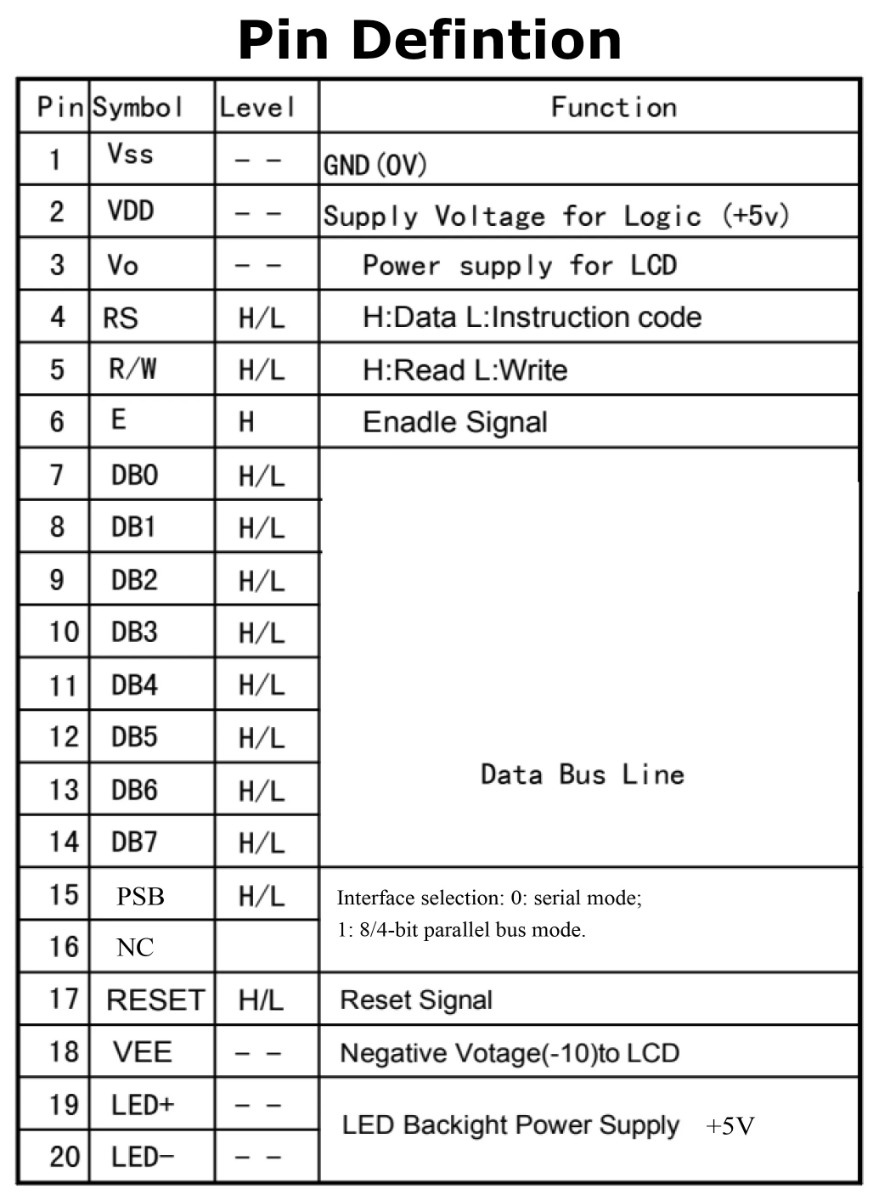
The ST7920 Controller Advantage Hidden beneath the black epoxy blobs on the back of the PCB is the ST7920 controller chip. This specific IC is highly prized in the maker community because it supports dual communication modes. If you need maximum refresh speed (for animations or rapid menu scrolling), you can wire it using the traditional 8-bit Parallel interface. However, if your Arduino is running low on GPIO pins, you can pull the PSB pin LOW to switch the screen into Serial (SPI) mode. In SPI mode, you can control this massive display using only 3 digital pins!
Sleek Blue Aesthetics While traditional yellow-green displays offer a retro feel, this module features a deep blue LED backlight that illuminates white pixels. This combination provides a highly legible, modern contrast that is exceptionally easy on the eyes. It is the preferred colorway for custom PC fan controllers, high-end audio pre-amplifiers, and modern smart-home control panels.
Specifications
Display Format: 128 x 64 Dots (Graphic)
Controller IC: ST7920 (or equivalent compatible)
Backlight Color: Blue (LED)
Pixel Color: White (Transmissive)
Operating Voltage (VDD): 5V DC
Logic Voltage: 5V (3.3V compatible on some data pins, but 5V power required)
Communication Interfaces: 8-Bit/4-Bit Parallel OR 3-Wire Serial (SPI)
Contrast Adjustment: Required (via external 10K potentiometer on Vo pin)
Pin Count: 20 Pins (Standard 2.54mm pitch)
Module Dimensions: ~93mm (L) x 70mm (W) x 13mm (H)
Viewing Area: ~72mm x 40mm
Downloads:
Key Applications and Projects
Audio Spectrum Analyzers: Building a custom graphical equalizer for your desktop amplifier that plots real-time audio frequencies.
3D Printer "Smart Controllers": Providing a highly readable, high-contrast interface for RAMPS-based custom 3D printer builds.
Smart Home Thermostats: Plotting a 24-hour temperature and humidity history graph alongside large, bold digital readouts for your living room.
Unlock New Capabilities (Project Evolution) The Interactive Hardware Monitor: Stop relying on your PC monitor to check system temps! Evolve your setup! Mount this 12864 blue screen inside your PC case or on your desk. Write a small Python script on your PC that reads your CPU/GPU temperatures and RAM usage, and sends that data over USB to an Arduino. Using the U8g2 library, you can program the Arduino to render beautiful, animated gauges and sliding graphs on the LCD, giving you a dedicated, hardware-level system monitor!
1 x 12864 Graphic LCD Module (Blue Backlight)

1. What does "12864" mean? It refers to the screen's graphic resolution: 128 pixels wide by 64 pixels tall.
2. Can this display colors? No, this is a monochrome (single-color) LCD. It can only display white/translucent pixels against the illuminated blue background.
3. What is the ST7920 chip? It is the microprocessor built into the back of the LCD module. It receives commands from your Arduino and translates them into the electrical signals needed to turn individual pixels on and off.
4. Why is the screen completely blank when I turn it on? You must wire a 10K ohm potentiometer to pin 3 (Vo or Contrast). If the contrast is not tuned perfectly, the pixels will remain invisible, even if your code is running perfectly.
5. How do I wire the contrast potentiometer? Connect one outer leg of the 10K potentiometer to 5V, the other outer leg to Ground (GND), and the middle "wiper" leg to pin 3 (Vo) on the LCD. Turn the knob until the graphics appear clearly.
6. What is the PSB pin (Pin 15) for? PSB stands for Parallel/Serial Bus selection.
Connect PSB to 5V (HIGH) to use 8-bit Parallel mode (requires ~10 pins).
Connect PSB to GND (LOW) to use SPI Serial mode (requires only 3 pins).
7. How do I wire it for SPI mode on an Arduino? Wire PSB to GND. Then connect RS (Chip Select) to Arduino Pin 10, R/W (MOSI/Data) to Pin 11, and E (SCK/Clock) to Pin 13. (These pins can vary based on your specific code definition).
8. Can I use this with a 3.3V board like an ESP32? The main power (VDD) usually requires 5V to drive the LCD fluid properly. However, the ST7920 logic pins can often recognize 3.3V data signals from an ESP32 if wired in SPI mode. For ultimate reliability, use a 5V logic level converter.
9. Why are Pins 19 (BLA) and 20 (BLK) separate from VDD and GND? Pins 1 and 2 power the logic chip. Pins 19 (Backlight Anode) and 20 (Backlight Cathode) power the blue LEDs. You should put a small resistor (e.g., 220 Ohm) in series with Pin 19 to prevent the LEDs from burning out, though many modern boards have a built-in current-limiting resistor on the back.
10. What Arduino library should I use? The U8g2 library by Olikraus is the absolute best library for this display. It is incredibly fast and includes hundreds of custom fonts and shape-drawing commands.
11. My text is printing backwards or mirrored. How do I fix this? Some generic ST7920 boards have their hardware origin mapped backward. In the U8g2 library, you simply change your initialization constructor (e.g., changing U8G2_R0 to U8G2_R2) to flip the screen via software.
12. Can this display standard text without a graphics library? Yes. The ST7920 has a built-in character ROM for basic Latin and Chinese fonts, but using a graphics library like U8g2 is much more flexible and preferred by most makers.
13. Does this screen suffer from "burn-in"? No, LCDs do not suffer from permanent burn-in like OLEDs do. You can leave a static image on this screen for years without damaging it.
14. What is the viewing angle like? Like most standard STN monochrome displays, the viewing angle is optimized for looking straight on or slightly from below (the 6 o'clock viewing direction). Contrast will degrade if viewed from sharp side angles.
15. How much power does it draw? The logic chip draws very little power (a few mA), but the blue LED backlight can draw between 50mA to 100mA depending on brightness.
16. Can I adjust the backlight brightness? Yes. Instead of wiring Pin 19 (BLA) directly to 5V, you can wire it to a PWM-capable pin on your Arduino. By writing an analog value (0-255), you can smoothly dim the backlight.
17. What are the VOUT (Pin 18) and NC (Pin 16) pins? NC stands for No Connection. Leave it empty. VOUT (sometimes labeled VEE) outputs a voltage generated by the LCD, which was used for contrast tuning on older revisions. On most modern ST7920 boards, you can ignore VOUT and tune contrast using Vo to Ground.
18. Why does the screen refresh look slow or "ghosty"? Monochrome LCD fluid has a slow response time compared to modern TFTs. Rapidly moving animations will leave a slight ghosting trail, which is an inherent physical property of this technology.
19. Are the header pins pre-soldered? Usually, this module ships with the 20-pin male header row already soldered into the bottom of the board, allowing you to plug it directly into a large breadboard.
20. Will this work as a direct replacement for my broken 3D printer screen? If your 3D printer uses the standard "RepRap Discount Full Graphic Smart Controller," this is the exact raw LCD panel inside it. You can desolder the old screen from the adapter board and solder this blue variant in its place for a custom look.
| Technical Details |
|
|---|---|
| Display Technology | Character / Graphic LCD (Monochrome) |
| Touch Capability | Non-Touch |
| Communication Interface | I2C / SPI |
| Smart / Integrated Ecosystem | Standard Display (Requires external MCU) |
| Screen Size (Diagonal) | Small (1.5 - 3.4 Inch) |
Probots sells every Electronics Part for your next Project. You can order 10,000+ Electronic Parts Online - Arduino, Raspberry Pi, NodeMCU Development Boards, Sensors, Motors, Motor Drivers, SMPS, Plastic Enclosures etc in India directly on probots.co.in
We delivery electronics components and parts throughout India using standard couriers like Bluedart, Delhivery & India Post.
For order related queries contact -
This item is covered by a warranty of 7 days from the date of delivery, against confirmed manufacturing defects only, as verified by Probots' own testing and investigation. In case of a confirmed defect, we will replace the item — a refund is issued only if a replacement can't be supplied (e.g. discontinued or out of stock). Transit damage or a wrong item received must be reported within 3 days of delivery.
If the product shows signs of misuse, tampering, physical damage, static discharge, liquid or fire damage, use of unapproved chemicals, or has been soldered or physically altered in any way.
China
Probots sells every Electronics Part for your next Project. You can order 10,000+ Electronic Parts Online - Arduino, Raspberry Pi, NodeMCU Development Boards, Sensors, Motors, Motor Drivers, SMPS, Plastic Enclosures etc in India directly on probots.co.in
We offer specialized services for Bulk, Wholesale & B2B Customers like discounted prices, additional shipping options, customised products, etc . Customer with large quantity & regular orders qualify for the specialised discounted rates.
We also offer dedicated sales team to assist you with the order process by providing sales quotations, PI, technical support for choosing products, etc.
Note: Business Orders are processed manually and usually take 1-3 days to process compared to placing the order directly on our website. Please plan your purchases accordingly.
Need Help?
For bulk enquiries contact us by -


Probots Electronics is highly regarded for its highly skilled team and knowledgeable staff who provide expert guidance to ensure customers select the right components for their technical projects. The business maintains a strong reputation for prompt service and reliable support, with many clients praising their quick response times and genuine commitment to customer satisfaction.


A very great place for electronics Such a well maintained shop... Felt good shopping here


Nice

For new developments kit available and they will support till working, and I suggest this place strongly


This place has all the electronic parts students will ever need, staff is friendly and the place is organised.


It was a really nice experience! I was happy to find such a wide range of robotics kits for kids, suitable for different age groups and learning levels.

Excellent experience




Good stuff

Buyed them. But no bargain. Helpful staff.


Available all children school project spears parts like electronics


It was good experience




Staff is very patient and helpful

One of the best place for electronics you will get everything you want! With the best and orginal quality

Very helpful staff and the best place to buy components for projects

Wonderful store with expert service and technically strong people.

Prompt delivery, excellent technical support


Large inventory of electronic components and parts. Well trained service personnel and technicians who can quickly identify and rectify product defect if any. They are a reliable and trustworthy online stores.

A very great place for electronics Such a well maintained shop... Felt good shopping here
Nice
For new developments kit available and they will support till working, and I suggest this place strongly
This place has all the electronic parts students will ever need, staff is friendly and the place is organised.
It was a really nice experience! I was happy to find such a wide range of robotics kits for kids, suitable for different age groups and learning levels.
Excellent experience
Good stuff
Buyed them. But no bargain. Helpful staff.
Available all children school project spears parts like electronics
It was good experience
Staff is very patient and helpful
One of the best place for electronics you will get everything you want! With the best and orginal quality
Very helpful staff and the best place to buy components for projects
Wonderful store with expert service and technically strong people.
Prompt delivery, excellent technical support
Large inventory of electronic components and parts. Well trained service personnel and technicians who can quickly identify and rectify product defect if any. They are a reliable and trustworthy online stores.
● 20 min readVol. 56 | The Heavyweight DC Drivetrain Duel Reliability isn’t optional when you’re designing actuators that need to move actual steel or
Read Article → ● 13 min read
Workbench Vol. 49 🚀 The Project Trifecta: 3 Builds to Start Today We don’t just stock parts; we curate ecosystems. This week’s arrivals are desi
Read Article → ● 18 min read
Vol. 59 | The Battle of the Bite-Sized Boards Picture a project that needs full Linux, networking, and GPIO—but has almost no room for a conventional
Read Article →