









 ● 20 min read
Showdown: RS550 12V DC 8000 vs RS-555 12V DC 6000 RPM DC Motor
Vol. 56 | The Heavyweight DC Drivetrain Duel Reliability isn’t optional when you’re designing actuators that need to move actual steel or
Read Article →
| Bulk Pricing | ||
|---|---|---|
| QTY | Unit Price(Inlc. GST) | |
| 10+ | ₹98.00 ₹ 83.05 + 14.95 GST | |
| 20+ | ₹97.00 ₹ 82.2 + 14.8 GST | |
| 30+ | ₹96.00 ₹ 81.36 + 14.64 GST | |
| 50+ | ₹94.00 ₹ 79.66 + 14.34 GST | |
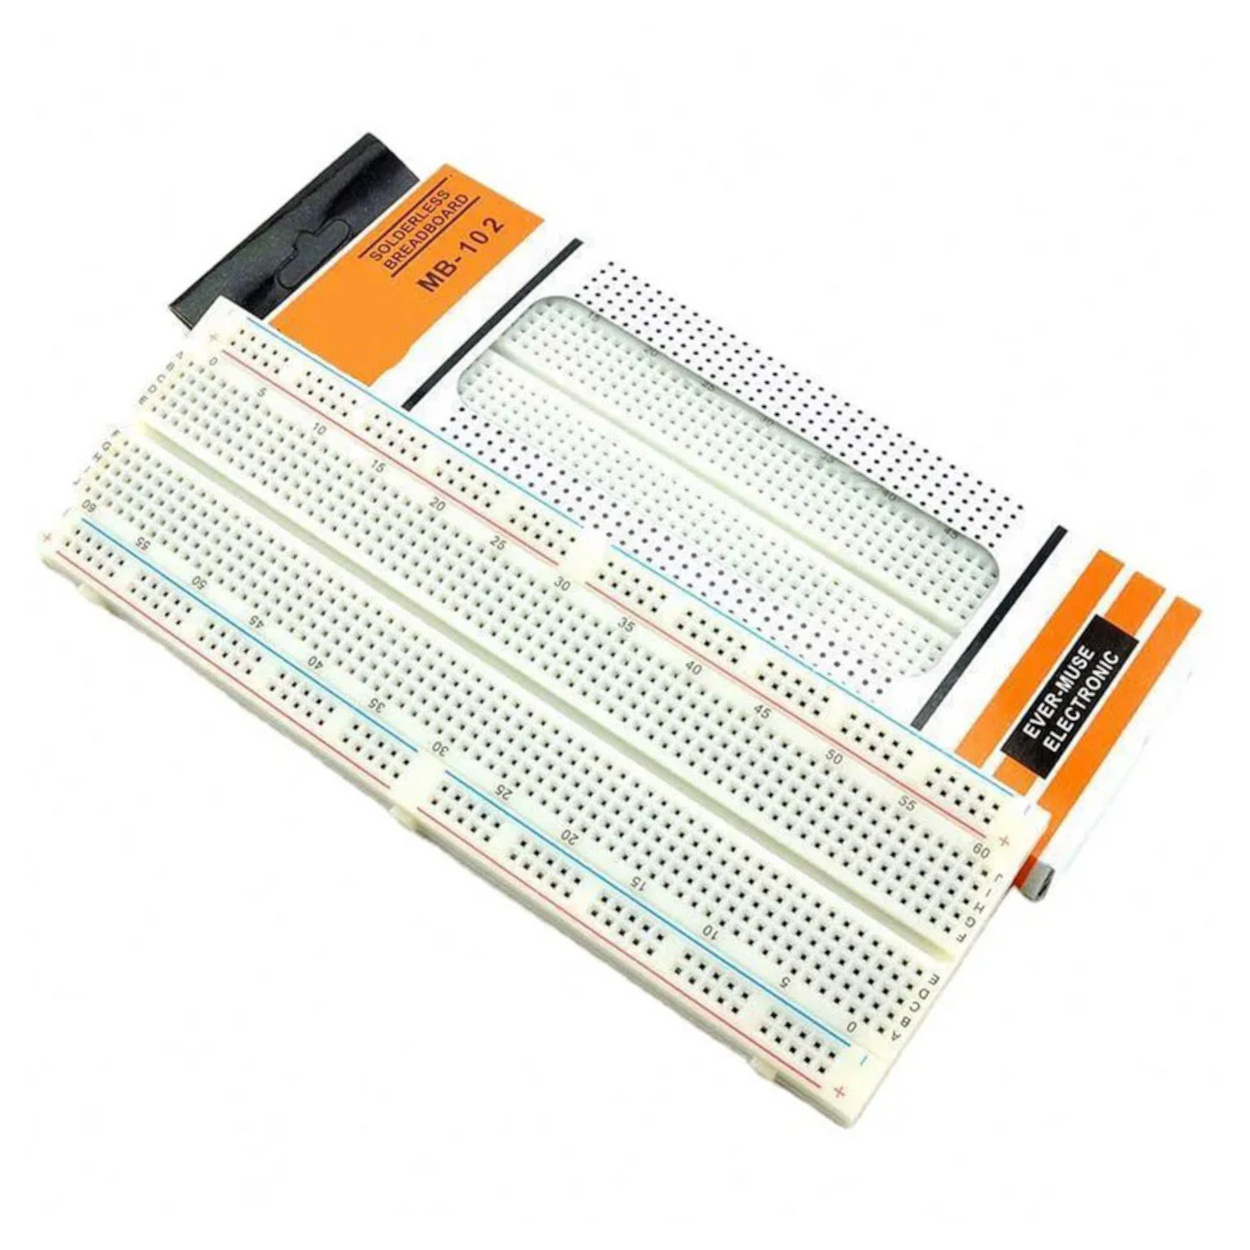
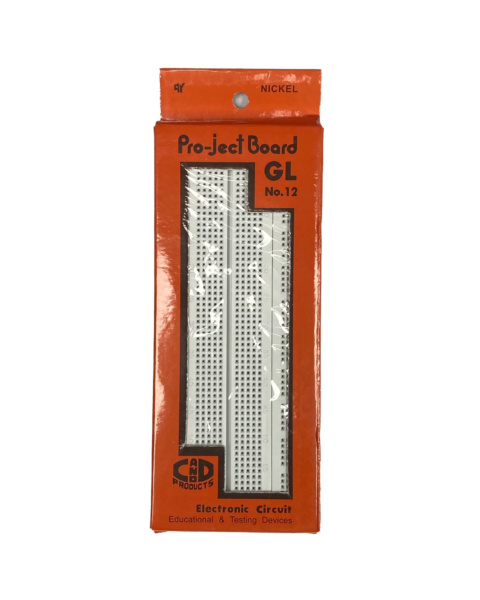
Rapidly prototype your circuits without a soldering iron! The MB102 features 830 tie-points, dual continuous power rails, and a standard 2.54mm pitch perfectly sized for Arduino Nanos, ESP32s, and all standard DIP ICs.
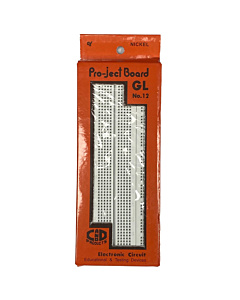
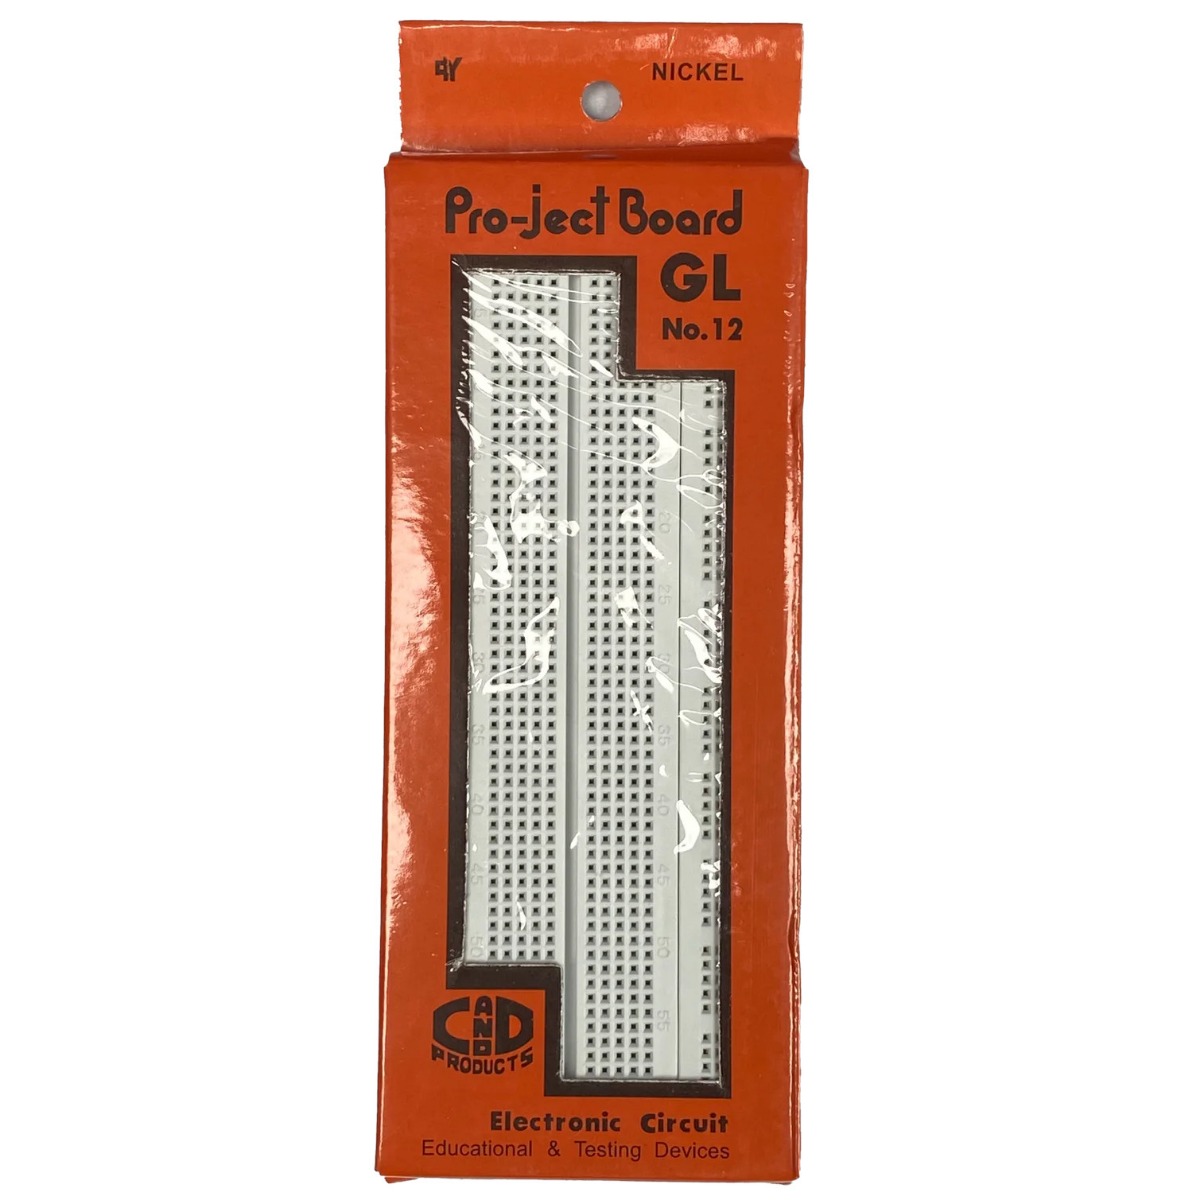 GL-12 840 Points Solderless Breadboard for Electronics Prototyping & DIY Projects ₹86.00
 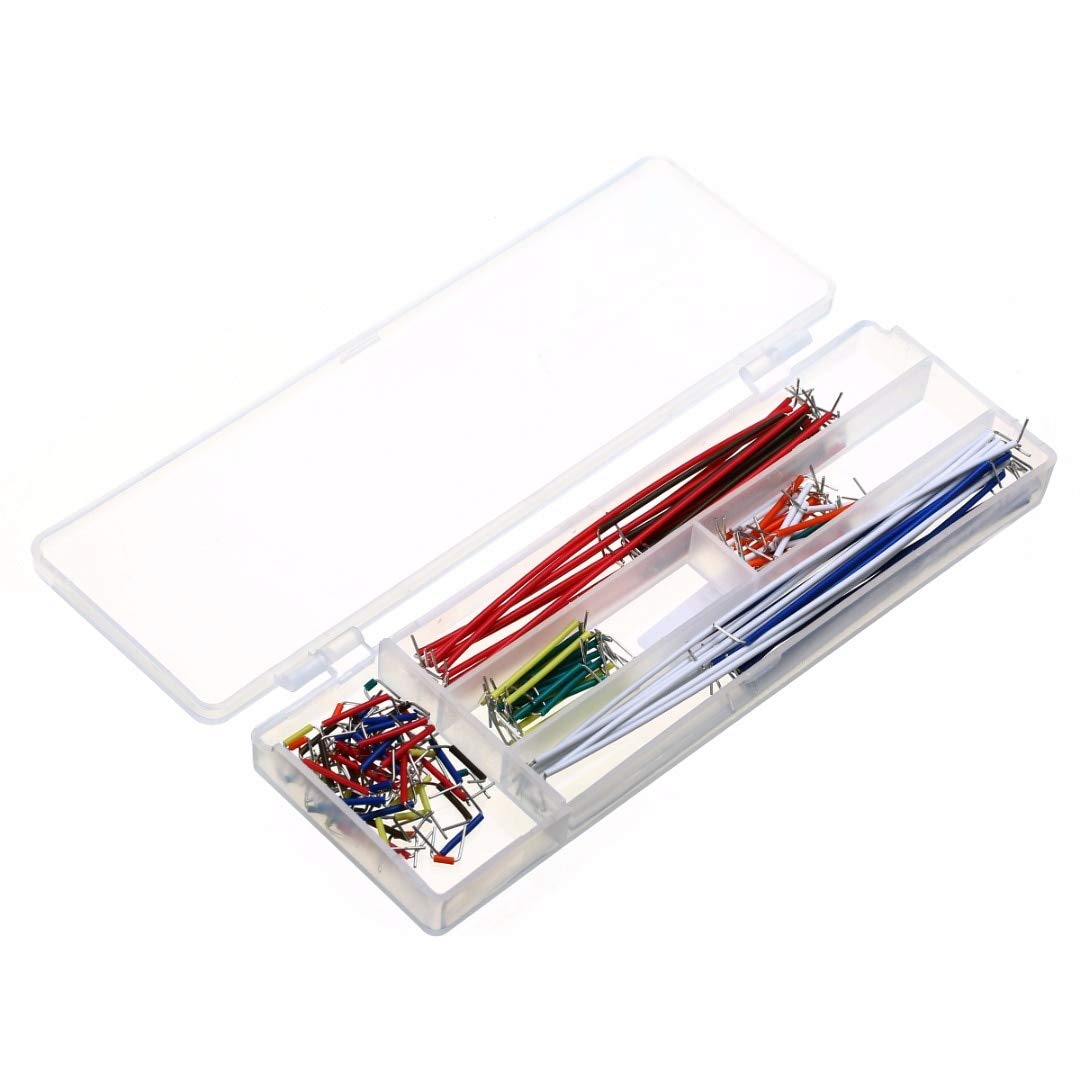 BreadBoard Jumper Kit 140pcs Solderless Cable Wire for Prototyping ₹149.00
 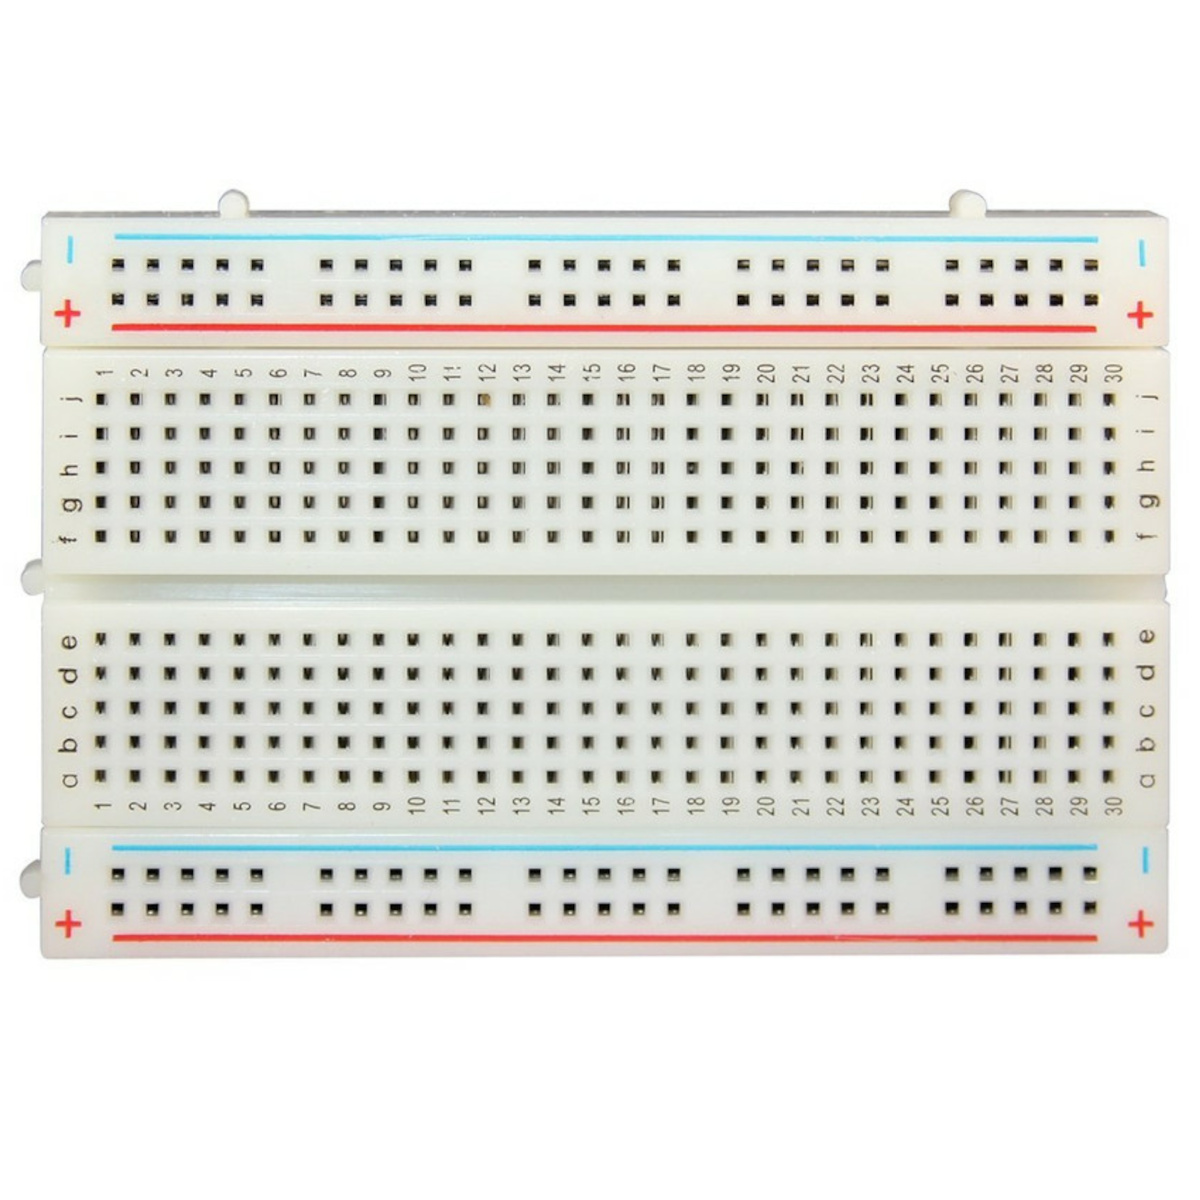 Breadboard for Electronics Solderless Prototyping 400 Points ₹49.00
 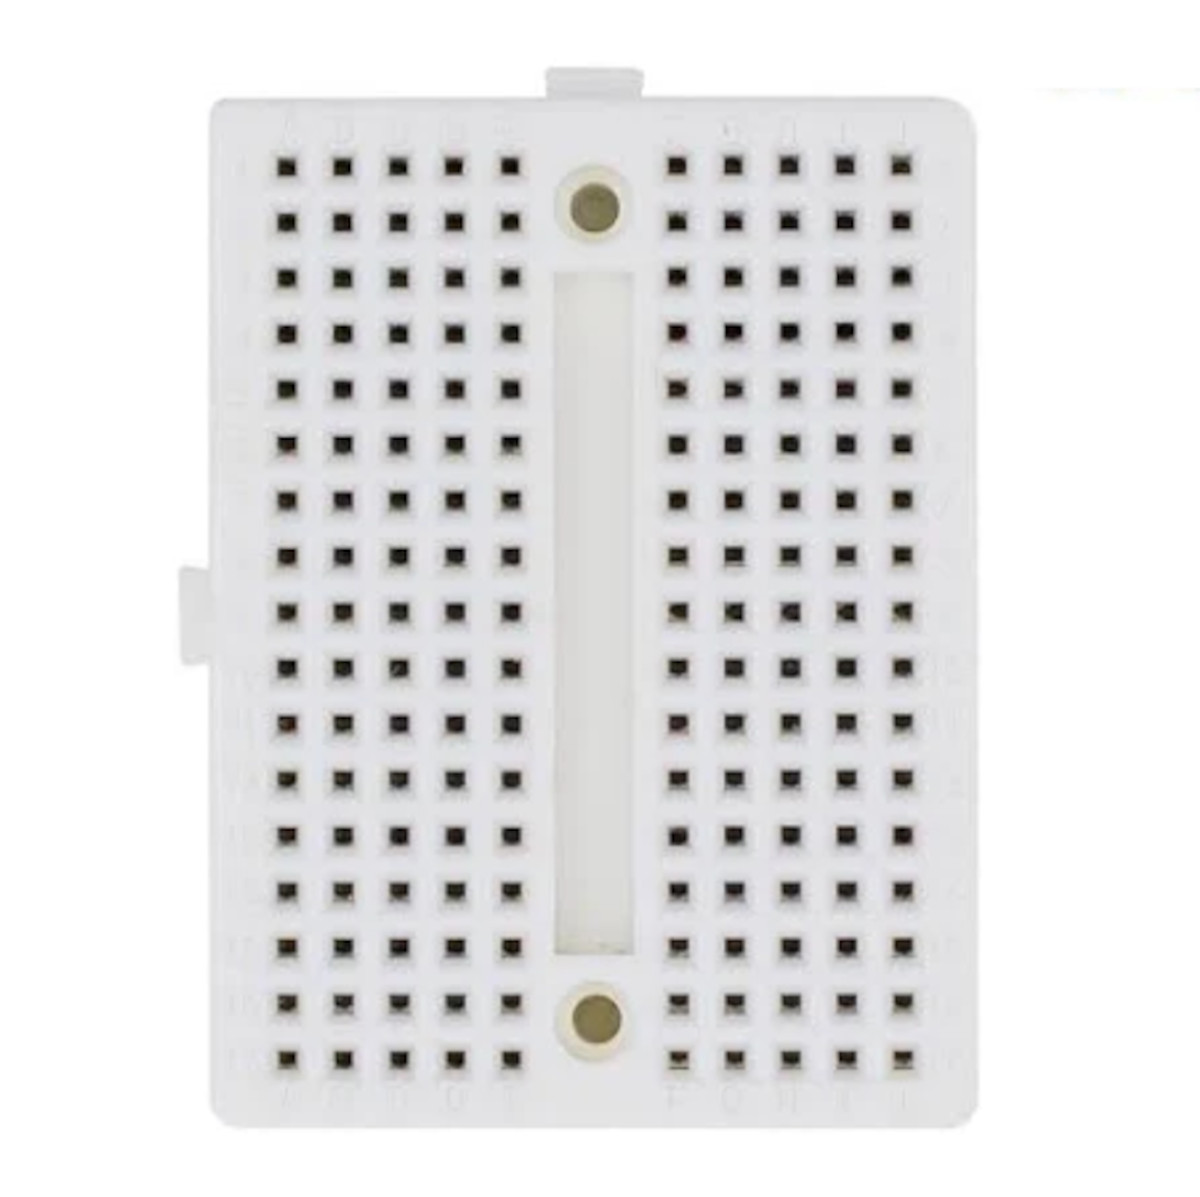 170 Points Mini Breadboard for UNO and Solderless Electronics Prototyping-White ₹39.00
 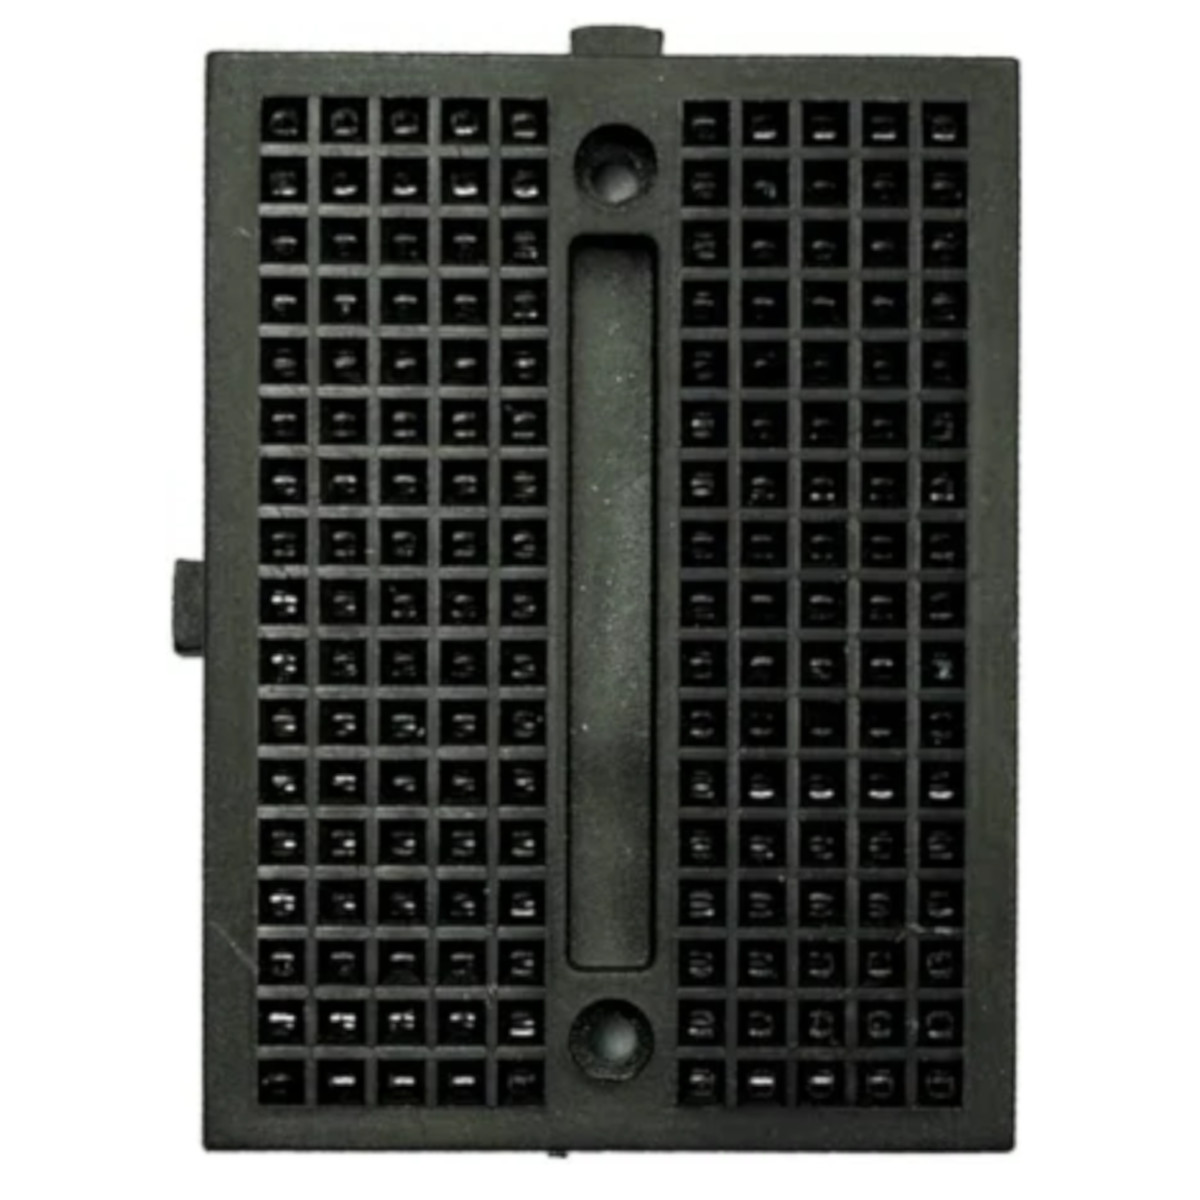 170 Points Mini Breadboard for UNO and Solderless Electronics Prototyping-Black ₹39.00
 The Foundation of Rapid Prototyping Underneath the white ABS plastic shell lies a precise matrix of interconnected, nickel-plated phosphor bronze spring clips. When you push a jumper wire or a component leg into one of the holes, these metal clips grip it tightly, creating a solid electrical connection. This completely eliminates the need for soldering. If you wire a resistor backward or connect to the wrong microcontroller pin, you simply pull it out and plug it back into the correct slot. This iterative process is crucial for hardware debugging and circuit validation.
Standard 2.54mm Pitch Matrix The MB102 is engineered to the industry-standard 2.54mm (0.1-inch) grid spacing. This means almost every through-hole component on the market—from simple LEDs and capacitors to complex logic gates and sensors—will drop right in. The main testing area consists of 630 tie-points arranged in rows of 5 interconnected holes (labeled a-e and f-j).
The Essential Center Channel Running directly down the middle of the board is a physical dividing trench. This is a critical design feature. Standard Dual In-line Package (DIP) Integrated Circuits, like 555 timers or shift registers, are designed to bridge across this gap. This ensures that the pins on the left side of the IC are electrically isolated from the pins on the right side, giving you independent rows of 5 holes to wire up each individual leg of the chip.
Dual Redundant Power Rails Running vertically along both the left and right edges are four separate power distribution rails (200 points total), marked with distinct red (+) and blue (-) lines. These rails are internally connected in long vertical columns. This allows you to easily distribute 5V and Ground across the entire length of your circuit without cluttering the central matrix with a rat's nest of power wires.
Modular Interlocking Design Are you building an incredibly complex 8-bit breadboard computer or a massive synthesizer? The MB102 features mechanical dovetail tabs and slots on its sides. You can seamlessly snap multiple MB102 boards together horizontally or vertically to create an infinitely expanding prototyping surface.
Specifications
Total Tie-Points: 830
Matrix Tie-Points: 630 (126 rows of 5 interconnected points)
Power Rail Tie-Points: 200 (4 rails of 50 points each)
Pitch Spacing: 2.54mm (0.1")
Acceptable Wire Gauge: 20 AWG to 29 AWG
Contact Material: Nickel-plated phosphor bronze spring clips
Housing Material: ABS Plastic
Maximum Voltage / Current: 300V / 3A to 5A (Low voltage DC recommended)
Dimensions: ~163.5mm x 54.5mm x 8.5mm
Mounting: Peel-and-stick double-sided adhesive pad on the back
Key Applications and Projects
Microcontroller Prototyping: Dropping an Arduino Nano or ESP32 development board into the center channel to wire up external displays, relays, and motor drivers.
Analog Circuit Design: Testing and tuning operational amplifiers, RC filters, and audio oscillators before committing the design to a permanent PCB.
Educational Electronics: Teaching students how to build basic LED circuits, transistor switches, and logic gate arrays safely.
Unlock New Capabilities (Project Evolution) From Breadboard to Permanent Perfboard: The ultimate evolution of a breadboard project is permanence! Once you have spent days perfecting your custom environmental monitoring circuit on the MB102, you don't want it to vibrate apart. Because standard prototype perfboards (Zero PCBs) share the exact same 2.54mm hole spacing and grid layout as the MB102, transferring your circuit is incredibly simple. You can copy your layout pin-for-pin, wire-for-wire onto the copper perfboard and solder it down permanently. Your fragile prototype is now a rugged, field-ready instrument!
Package Includes:
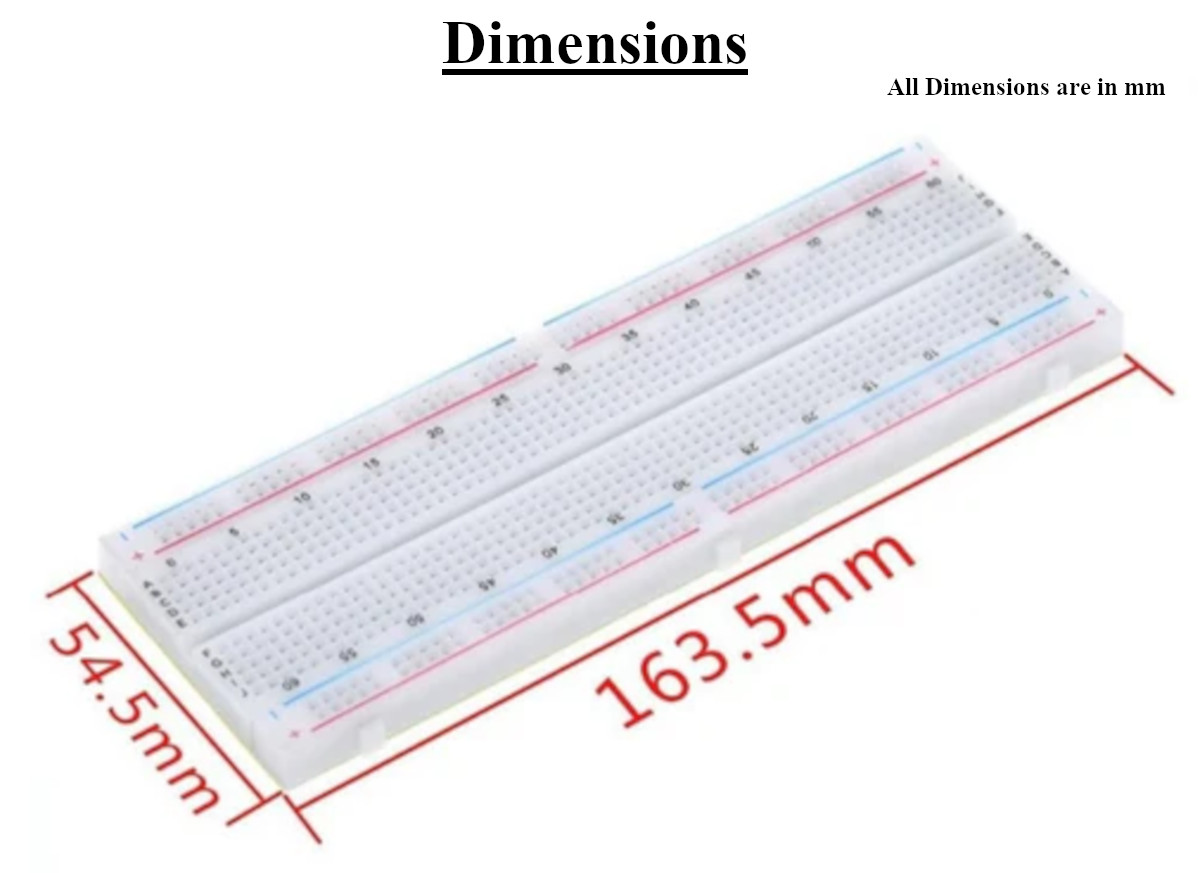
Q: What exactly does "830 Points" mean? It refers to the total number of holes (tie-points) on the board. The main central wiring area has 630 points, and the two power rails on the sides have 100 points each (200 total). 630 + 200 = 830.
Q: Do I need to solder my components to this board? No. This is a "solderless" breadboard. You simply push the metal legs of your components or wires into the holes. Internal metal spring clips grab the wire to make the electrical connection.
Q: What is the best type of wire to use with this breadboard? You should use 22 AWG (American Wire Gauge) solid core wire. Solid core wire is stiff and pushes easily into the clips without bending.
Q: Can I use stranded wire? It is highly discouraged. Stranded wire is too flexible to push into the clips easily, and the microscopic individual copper strands can fray, break off inside the board, and cause permanent hidden short circuits.
Q: Are the red and blue power rails continuous all the way down? On most high-quality MB102 boards, the power rails are continuous from top to bottom. However, on some variants, there is a split right in the middle (often indicated by a break in the red/blue printed line). If your rails are split, you must use a small jumper wire to bridge the gap to get power to the bottom half.
Q: How are the holes in the main central area connected? In the main area (rows 1-63), the holes are connected horizontally in groups of 5. For example, row 1, holes a, b, c, d, and e are all electrically connected. However, row 1 is completely isolated from row 2.
Q: What is the trench down the middle of the board for? The trench physically and electrically separates the left side of the board (a-e) from the right side (f-j). This allows you to straddle microchips (DIP ICs) across the center, ensuring the pins on one side of the chip don't short out against the pins on the other side.
Q: What is 2.54mm pitch? Pitch is the exact distance between the center of one hole and the center of the next. 2.54mm (which equals exactly 0.1 inches) is the universal worldwide standard for breadboards, meaning almost all through-hole electronic components will fit.
Q: Can I plug an Arduino Uno directly into this breadboard? No. The Arduino Uno's pin layout is not designed to plug into a breadboard. You must use jumper wires to connect the Uno to the breadboard. However, boards like the Arduino Nano, Pro Micro, and most ESP32 dev boards are specifically designed to plug directly into the breadboard.
Q: Why are my components loose and falling out? If a component feels loose, it is likely because its metal legs are too thin (like cheap, very thin resistors), or you previously jammed a very thick wire into that specific hole, which permanently bent and widened the internal metal spring clip.
Q: How do I power the breadboard? You can run jumper wires from the 5V and GND pins of your Arduino to the red and blue rails. Alternatively, you can purchase an "MB102 Breadboard Power Supply Module" which plugs directly into the top power rails and provides a clean 5V and 3.3V from a DC wall adapter.
Q: How much voltage and current can this board handle? While the plastic and metal can technically withstand up to 300V, breadboards should ONLY be used for low-voltage DC electronics (e.g., 3.3V, 5V, 12V, 24V). Due to the spring clips, you should keep the current below 2 to 3 Amps to prevent the metal from heating up and melting the plastic housing.
Q: Can I connect two breadboards together to make a bigger one? Yes. Look at the edges of the plastic housing. There are small dovetail tabs and slots. You can snap multiple boards together side-by-side or end-to-end for massive projects.
Q: What is the yellow paper on the back of the board? That is the protective cover for a double-sided adhesive foam tape. You can peel it off and permanently stick the breadboard to a project enclosure or a robot chassis.
Q: Can I remove the power rails if I don't need them? Yes! The side power rail strips are actually separate pieces of plastic. They are connected to the main central board using the same dovetail tab joints and can be detached by firmly sliding or pulling them apart.
Q: Why is my high-frequency circuit behaving weirdly on a breadboard? Breadboards are not suited for high-frequency (RF) circuits or extremely precise high-speed digital timing. The long metal strips inside act as tiny antennas and capacitors, introducing "parasitic capacitance" and noise that can disrupt sensitive high-speed signals.
Q: Are the rows and columns numbered? Yes. High-quality MB102 boards have rows numbered from 1 to 63, and columns lettered a-j. This grid coordinate system makes it very easy to follow wiring diagrams or instructions (e.g., "Plug the resistor into hole 14-c").
Q: Can I cut the breadboard in half? While you technically can cut it with a hacksaw, it is not recommended as it will leave sharp edges, expose the internal metal strips, and likely ruin the structural integrity of the rows near the cut.
Probots sells every Electronics Part for your next Project. You can order 10,000+ Electronic Parts Online - Arduino, Raspberry Pi, NodeMCU Development Boards, Sensors, Motors, Motor Drivers, SMPS, Plastic Enclosures etc in India directly on probots.co.in
We delivery electronics components and parts throughout India using standard couriers like Bluedart, Delhivery & India Post.
For order related queries contact -
This item is covered by a warranty of 7 days from the date of delivery, against confirmed manufacturing defects only, as verified by Probots' own testing and investigation. In case of a confirmed defect, we will replace the item — a refund is issued only if a replacement can't be supplied (e.g. discontinued or out of stock). Transit damage or a wrong item received must be reported within 3 days of delivery.
If the product shows signs of misuse, tampering, physical damage, static discharge, liquid or fire damage, use of unapproved chemicals, or has been soldered or physically altered in any way.
China
Probots sells every Electronics Part for your next Project. You can order 10,000+ Electronic Parts Online - Arduino, Raspberry Pi, NodeMCU Development Boards, Sensors, Motors, Motor Drivers, SMPS, Plastic Enclosures etc in India directly on probots.co.in
We offer specialized services for Bulk, Wholesale & B2B Customers like discounted prices, additional shipping options, customised products, etc . Customer with large quantity & regular orders qualify for the specialised discounted rates.
We also offer dedicated sales team to assist you with the order process by providing sales quotations, PI, technical support for choosing products, etc.
Note: Business Orders are processed manually and usually take 1-3 days to process compared to placing the order directly on our website. Please plan your purchases accordingly.
Need Help?
For bulk enquiries contact us by -

Probots Electronics is highly regarded for its highly skilled team and knowledgeable staff who provide expert guidance to ensure customers select the right components for their technical projects. The business maintains a strong reputation for prompt service and reliable support, with many clients praising their quick response times and genuine commitment to customer satisfaction.


A very great place for electronics Such a well maintained shop... Felt good shopping here


Nice

For new developments kit available and they will support till working, and I suggest this place strongly


This place has all the electronic parts students will ever need, staff is friendly and the place is organised.


It was a really nice experience! I was happy to find such a wide range of robotics kits for kids, suitable for different age groups and learning levels.

Excellent experience




Good stuff

Buyed them. But no bargain. Helpful staff.


Available all children school project spears parts like electronics


It was good experience




Staff is very patient and helpful

One of the best place for electronics you will get everything you want! With the best and orginal quality

Very helpful staff and the best place to buy components for projects

Wonderful store with expert service and technically strong people.

Prompt delivery, excellent technical support


Large inventory of electronic components and parts. Well trained service personnel and technicians who can quickly identify and rectify product defect if any. They are a reliable and trustworthy online stores.

A very great place for electronics Such a well maintained shop... Felt good shopping here
Nice
For new developments kit available and they will support till working, and I suggest this place strongly
This place has all the electronic parts students will ever need, staff is friendly and the place is organised.
It was a really nice experience! I was happy to find such a wide range of robotics kits for kids, suitable for different age groups and learning levels.
Excellent experience
Good stuff
Buyed them. But no bargain. Helpful staff.
Available all children school project spears parts like electronics
It was good experience
Staff is very patient and helpful
One of the best place for electronics you will get everything you want! With the best and orginal quality
Very helpful staff and the best place to buy components for projects
Wonderful store with expert service and technically strong people.
Prompt delivery, excellent technical support
Large inventory of electronic components and parts. Well trained service personnel and technicians who can quickly identify and rectify product defect if any. They are a reliable and trustworthy online stores.
● 20 min readVol. 56 | The Heavyweight DC Drivetrain Duel Reliability isn’t optional when you’re designing actuators that need to move actual steel or
Read Article → ● 13 min read
Workbench Vol. 49 🚀 The Project Trifecta: 3 Builds to Start Today We don’t just stock parts; we curate ecosystems. This week’s arrivals are desi
Read Article → ● 18 min read
Vol. 59 | The Battle of the Bite-Sized Boards Picture a project that needs full Linux, networking, and GPIO—but has almost no room for a conventional
Read Article →